Wings.
12 August 2021
Canberra just went into COVID lockdown today, so I guess I’ll have some time to work on the wings.
Good thing I measured the shed out right. I’ve got some vehicle dollys coming. If I push the Viper to one side and mount a wing, I have a foot of clearance to get around it and fit it before removing it to do the opposite side. As long as my fat covid lockdown guts doesn’t expand, I’ll be fine to squeeze past.
Right now I am just using cardboard to work it all out. The cannons are not terribly heavy, but they are mounted on the wing tips, causing a bit of a cantilever effect. I will be using a steel strut welded to two mounting points in the side of the nacelle, that will support the longitudinal length of the wing, plus the cannon. In the series set prop, there was a sneaky little strut poking out of the cockpit fuselage, attached to the side of the gun, giving it one more support point forward of the wing roots.
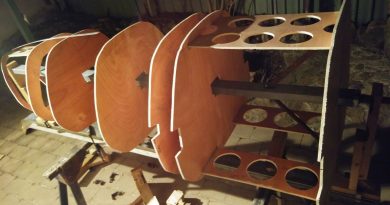
Once that’s all measured and cut, I will then build the wings out of polystyrene, with two steel poles inside, radiating from the wing roots to the outer edge. Shape, sand and fibreglass with the rest of the hull.
The rounds are 30mm, similar to the A10 Warthog’s gun. These are turned out of wood, painted and I made the link a couple of years ago out of sheetmetal. I have a plan later to have a transparent or cutaway section on one wing so you can see the load-out of the link to the side of the cannon. More on that down the track.
Look for Builds by Baz groups on Facebook and Youtube.


10 September 2021
More work on the wing.
I’ve welded up two wing frames, using the cardboard template as a guide. After welding two solid brackets to the inside edge of the port side wing, I have fitted it to the corresponding arm that protrudes from within the nacelle.
Now that it is solid and set at the right angle, I have press-fit the first layer of polystyrene, then using expanding foam adhesive, glued on the second layer, locking it all together around the frame.
The sanding and shaping has started, however i have run out of glue, so I moved onto fitting the cannon.


17 August 2022
Starboard wing has been welded on and filled with polystyrene, with the top surface now shaped and sanded. The port side wing has been detached and it’s underside shaped and sanded. All I have to do now is flip them both, to finish their opposite sides.
The Viper is now up on it’s new dolly trollies, each rated at 800kg. The entire craft now weighs close to 850kg and moves easily across the workshop floor at the slightest push.


Thursday 25 August 2022
Now that both surfaces on each wing are done, it’s time to add the details. Recesses for flight control surfaces have now been cut in. The pods on the wingtips have been sculpted to provide a place for the clearance lights. In the real world, starboard is green and port is red, but the BSG props department guys tell me that they were red all around in the show.
The lamp lenses are called beehive lenses and they proved to be expensive to ship to Australia. There are also a lot of variations out there, so trying to find the genuine, retro part was proving difficult. There were a lot of modern day equivalents, so I decided to get them 3D printed locally.
My friend Josh Mundy, of Mundy and Co, generously offered to 3D print them for me in translucent red filament. After a quick prototype in black PLA, he is now printing the rest in red.
I’ll run the 12V wires from the wing roots via a cut in the foam, to the wingtips to provide power from the APU to all clearance lights.


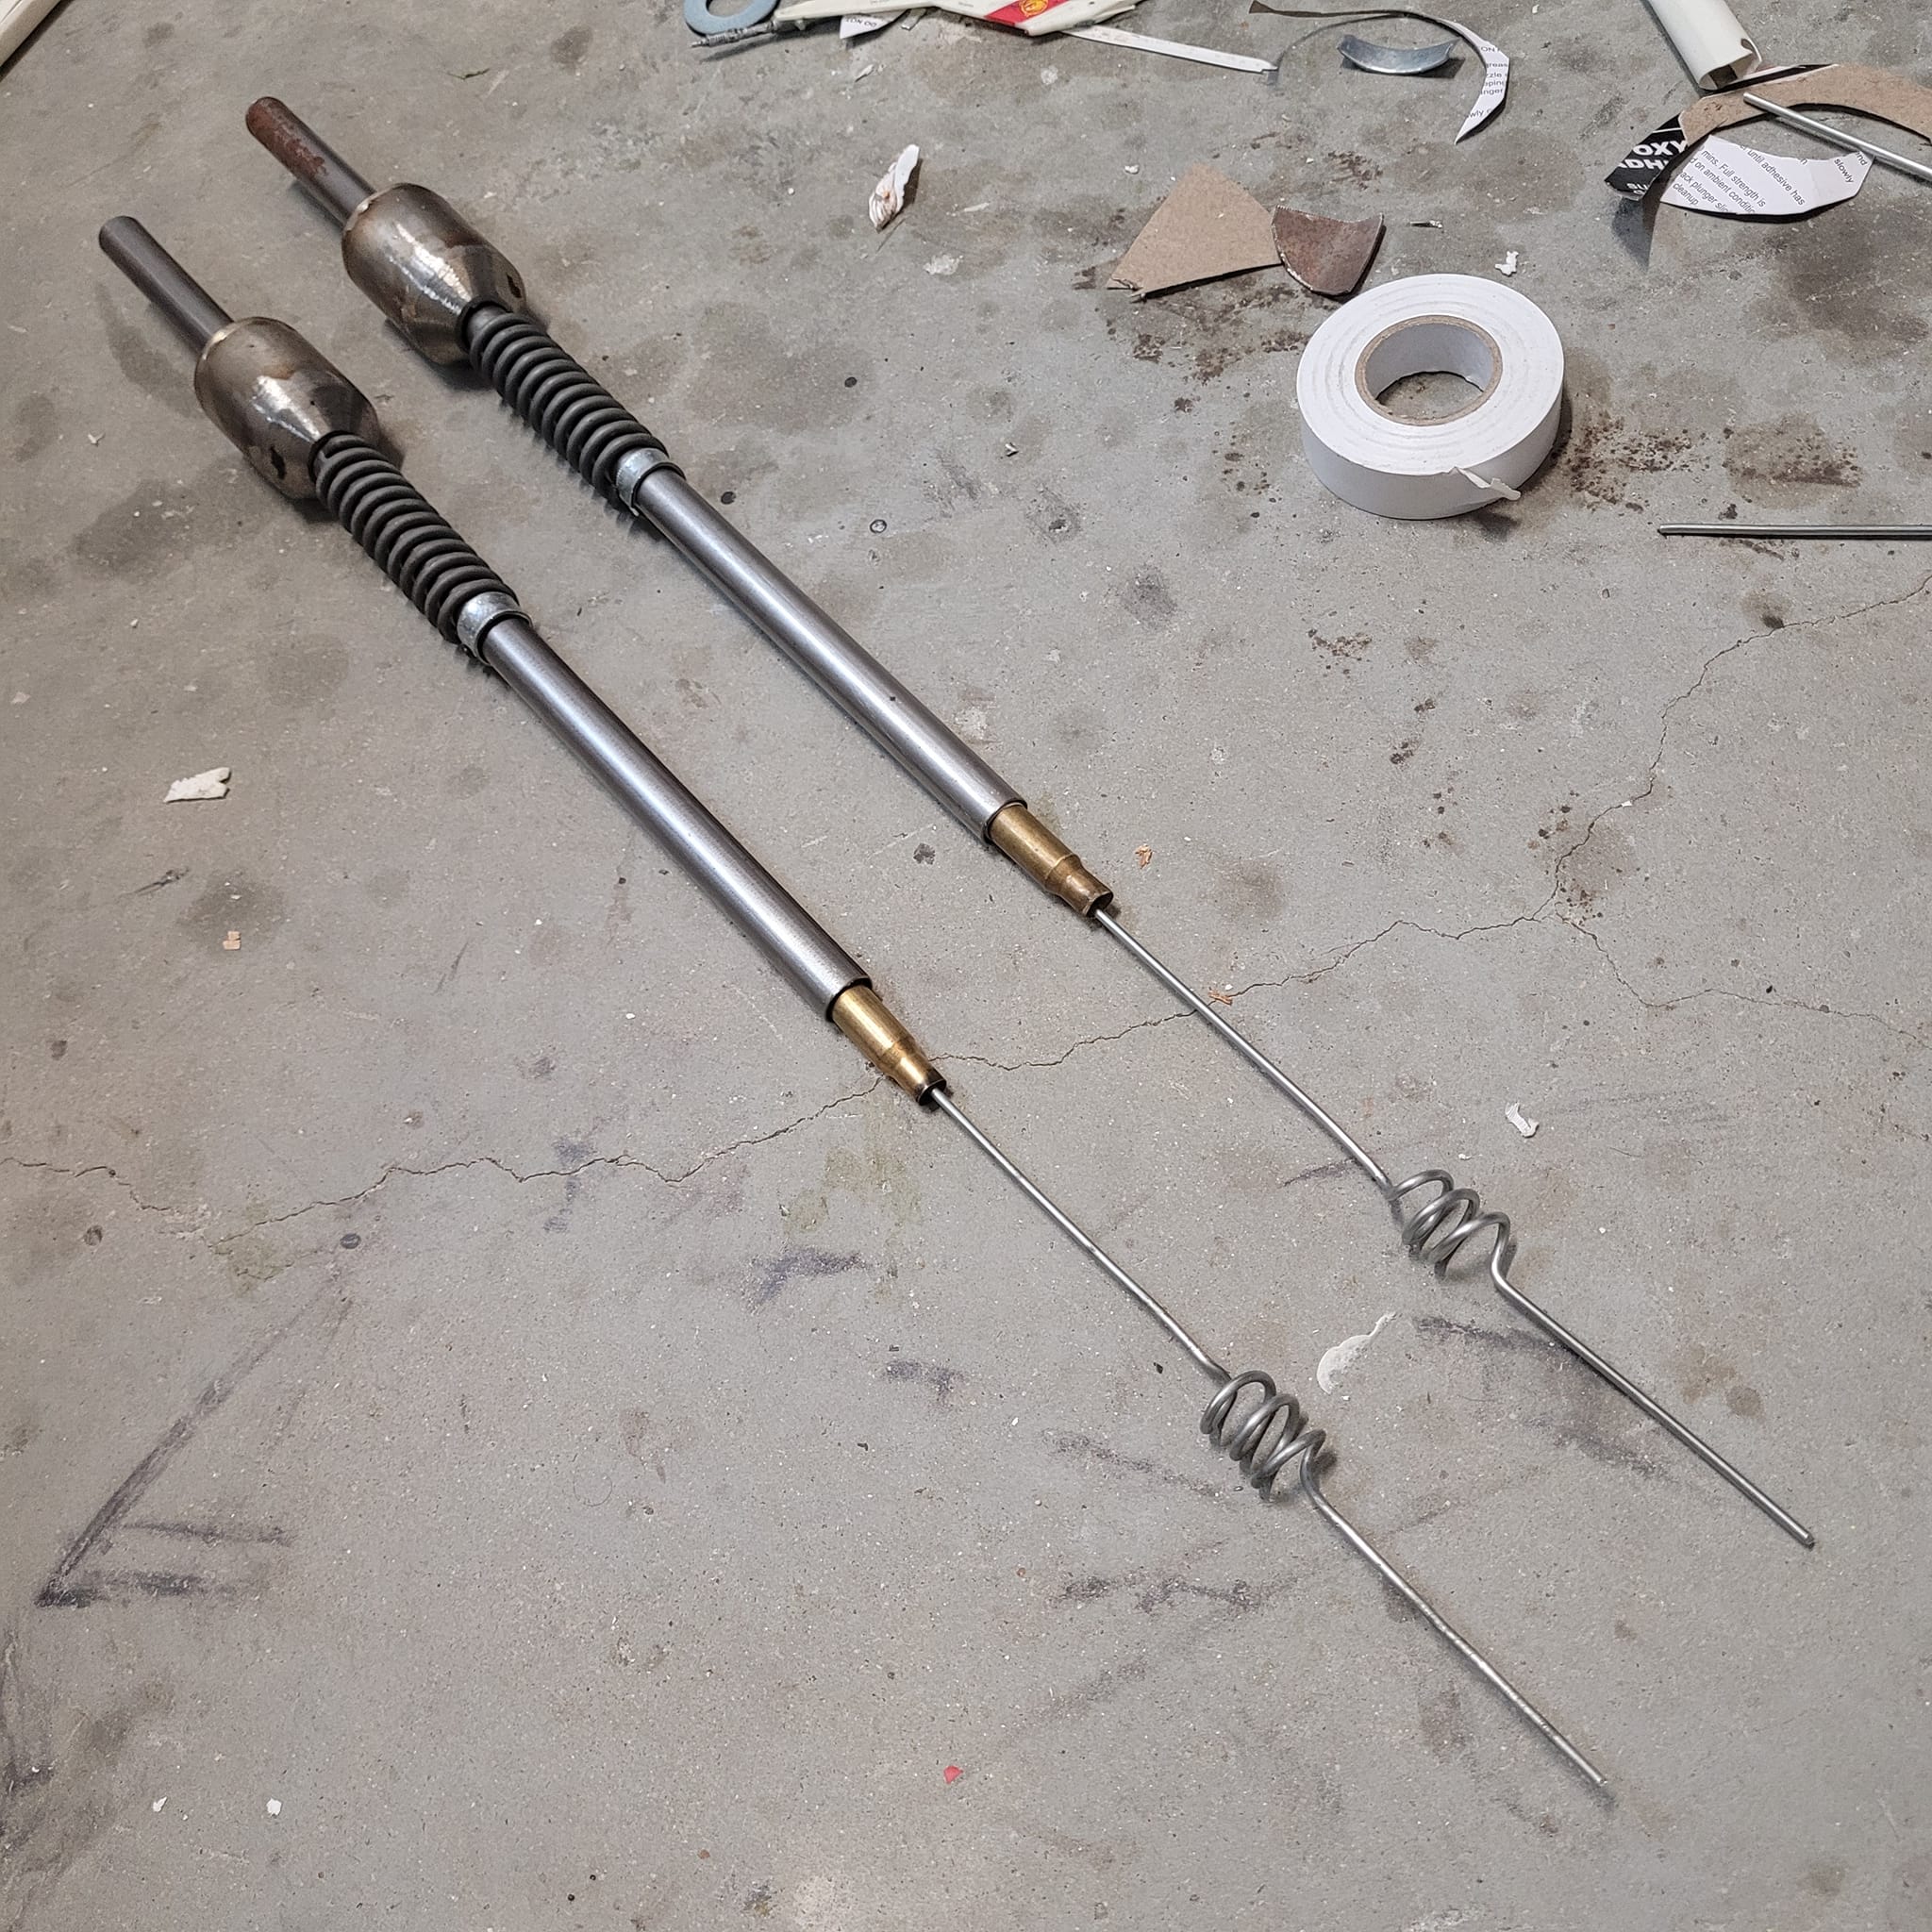
Nav-lights fitted and powered up. Made some antennae out of shed scraps.